Libby Sk8er Girl

Libby Sk8er Girl

Libby Sk8er Girl


No. 17: “Right-Angle Days”


Libby Sk8er Girl No. 17

Created by Brian T. Sullivan
June 23, 2021


Also, check out the Libby Sk8er Girl Collection at Ye Olde Starry Knight Shoppe!

Check out the Libby Sk8er Girl Collection at Ye Olde Starry Knight Shoppe!


Send Mail to: Sk8erLibby@gmail.com!

(Be sure to write “OKAY TO REPRODUCE” and include a name if you want a chance for your letter to be included in a future letters column!)


Keep Up with Libby!


Libby Sk8er Girl to shows up every Wednesday. You can keep up by checking back here, or by following @bthingsart and/or @starryknightstudios on Instagram!


Libby’s Scribb1es

'Sup, Dudes!?

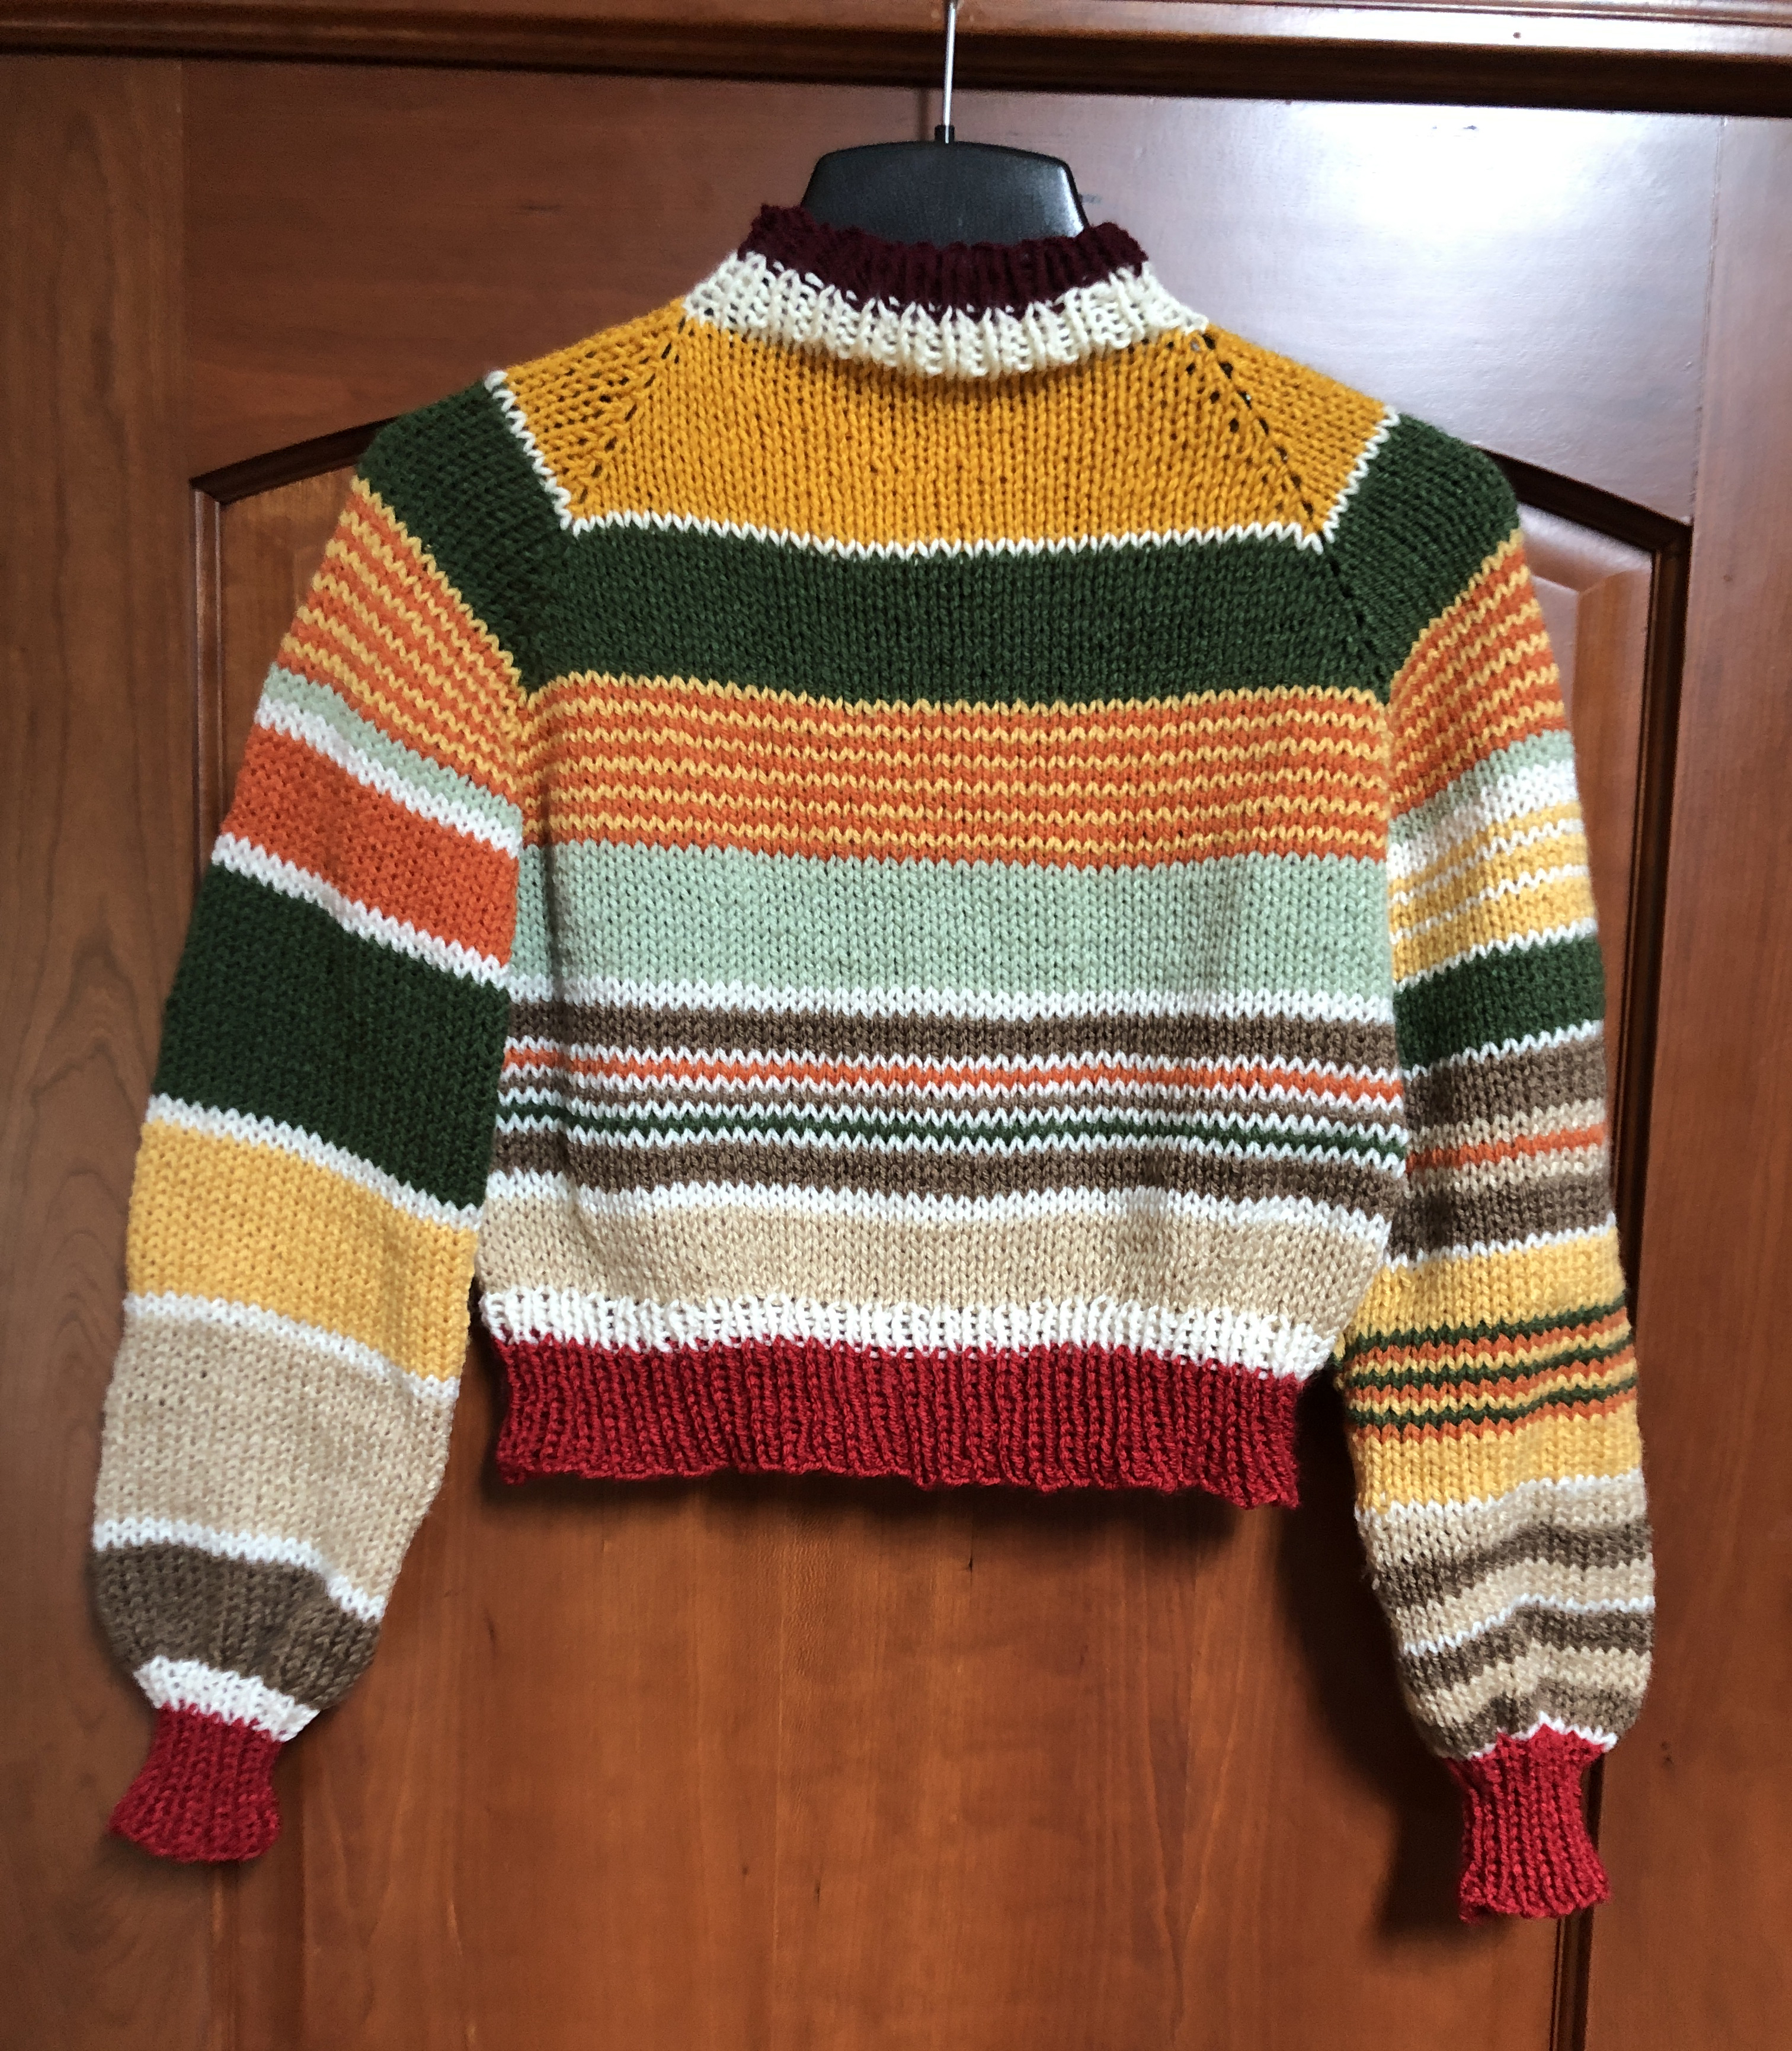
Do you have a vast collection of bits of yarn that you can't necessarily make into anything? Did you find my sweater in this issue AMAZING (albeit seasonally inappropriate)? Do you want your own crop-top sweater like it? Well, you're in luck, 'cause it's REAL! (See the picture below). Now, I'm gonna give you the pattern to make your own Libby's Stash Sweater!!! Read on to see the glory of this amazing article of clothing that really shouldn't be worn in the summertime!

Super-Cool Croptop Stash Sweater

First of all, you don't need to worry if you don't have the same stuff that I do, because this pattern is gonna work with pretty much any yarn using any needles. (I've also worked with Brian's mom on this pattern, so that it works for 3-dimensional people as well as drawings.) Even so, you still need supplies and some measurements, so here's that info:

(BTW, everything is in inches, because it is. You just have to accept this. Google can do unit conversions if you want it in cubits or something.)

SUPPLIES:

  • 1 Shitload of Yarn
  • Double-Pointed Knitting Needles in 2 Sizes (The bigger size needs to be 2 sizes larger than the smaller one)
  • 1 Tape Measure (measurer?)
  • 4 Stitch Markers (possibly 1 of one color and 3 of another)
  • 2 Stitch Holders
  • 1 Copy of Lilo & Stitch on DVD (optional)
  • 1 Tapestry Needle

MEASUREMENTS:

  • Neck Circumference
  • Chest Circumference (your chest…weirdo.)
  • Wrist Circumference
  • Arm Length (neck to wrist)

Once you've gotten all that stuff together, you can start getting ready to start making the sweater. First, you should knit a swatch with using your yarn and your larger set of needles. Don't make it too big, but make it big enough that you can determine how many stitches there are per inch (or cubit). This number will be your gauge, and you should probably write that down, even if you think you've got a brilliant memory, because let's face it, we're all idiots. If we're being honest gauge should really be pronounced like "GOWDGE," right? Anyway, from that gauge value, you can do some simple multiplication to determine how many stitches you'll need to make around the circumferences of your neck, chest, and wrists. Now that you've done some über-basic math, you're ready to start knitting for realzies!

(This bit will have less commentary, because it's technical, and technical knitting jokes are hard to write.)

MAKING THE NECK:

  • On smaller needles, cast on your "neck" number of stitches.
  • Place Marker #1.
  • Working in the round, work K1P1 ribbing for 2 inches. (For the uninitiated, K1 means you knit a stitch, and P1 means you purl a stitch.)

MAKING THE RAGLAN:

  • Switch to the bigger needles
  • Slip Marker #1, K1, place Marker #2.
  • Continue knitting until you have worked ½ of the "chest" number of stitches, including the stitch between the markers.
  • Place Marker #3, K1, place Marker #4.
  • Knit to end (Marker #1).
  • Turn work and purl to Marker #4.
  • Turn work and knit to end (Marker #1).
  • (The two previous rows will lengthen the back slightly. That'll give you a better fit when it's a finished sweater.)
  • INCREASE ROW: Knit in the round and increase 1 stitch before and after each marker.
  • EVEN ROW: Knit all stitches.
  • Repeat, alternating between Increase Rows and Even Rows until your total number of stitches is equal to the number of "chest" stitches you calculated earlier.
  • (The number of stitches doesn't have to match your "chest" number exactly. You may be a couple stitches short or have a few extra stitches. It won't make any difference in the end. Just get as close to your number of "chest" stitches as possible.)
  • End with an EVEN row.

MAKING THE BODY:

  • Transfer stitches between Marker #1 and Marker #2 onto a stitch holder.
  • Discard Marker #2.
  • Cast on 1"-worth of stitches. (armpit-to-be)
  • Knit to Marker #3.
  • Discard Marker #3.
  • Transfer stitches between Marker #3 and Marker #4 onto a stitch holder.
  • Discard Marker #4.
  • Cast on 1"-worth of stitches. (armpit-to-be)
  • Knit to the end (Marker #1).
  • Knit even until the body measures 3" less than the desired finished sweater length. (This will vary by how much [if any] midriff you wanna show.)
  • Evenly decrease 2"-worth of stitches.
  • Change to smaller needles.
  • Work K1P1 ribbing for 3".
  • Bind-off all stitches with your favorite, stretchy, ribbing bind-off technique.

MAKING THE SLEEVES:

  • Transfer stitches from one of the holders onto larger needles.
  • Attach yarn.
  • Knit all stitches, picking up and knitting the 1" worth of stitches cast onto the body at the armpit.
  • Knit even until sleeve measures 3" less than desired final sleeve length.
  • Evenly decrease stitches to achieve "wrist" number of stitches.
  • Transfer to smaller needles.
  • Work K1P1 ribbing for 3".
  • Bind-off all stitches. You can do the same one you did for the body, or you can do something different, if you so desire!
  • Repeat for the other arm.

And voilà! You now have a pretty awesome sweater, just like mine (except not)! From reading all of this, you can probably tell that this can fit pretty-much any person you want. Maybe not a baby, but that's okay. Babies get enough sweaters, and all they do is puke on them. Also, while I, personally, advocate for bare midriffs, it's okay if you don't want that. You could make the sweater go down to your toes if you want. (At that point, though, I think it might be more of a weird dress/tunic thing…) The world is your oyster! Just decide what you want to do and then do it. All I ask is that nobody demand another knitting pattern from me any time soon. Making and writing this was fun, but it's not something I want to do all the time. Next time, let's have a comic that's nice and stupid and doesn't have anything important or educational about it. Maybe I'll make out with a Goa'uld* from Stargate?! You'll just have to tune in next week and see!

L8er Sk8ers!
Libby

* Brian informs me that it is the Tok'ra who generally transfer their snaky worm things via kissing, and the Tok'ra don't like being called Goa'ulds. Personally, I think they're all fictional characters, and as a fictional character myself, I say they can go fall in a pit for all I care.